Sun Light Overview:
Final Digital Fabrication Assignment
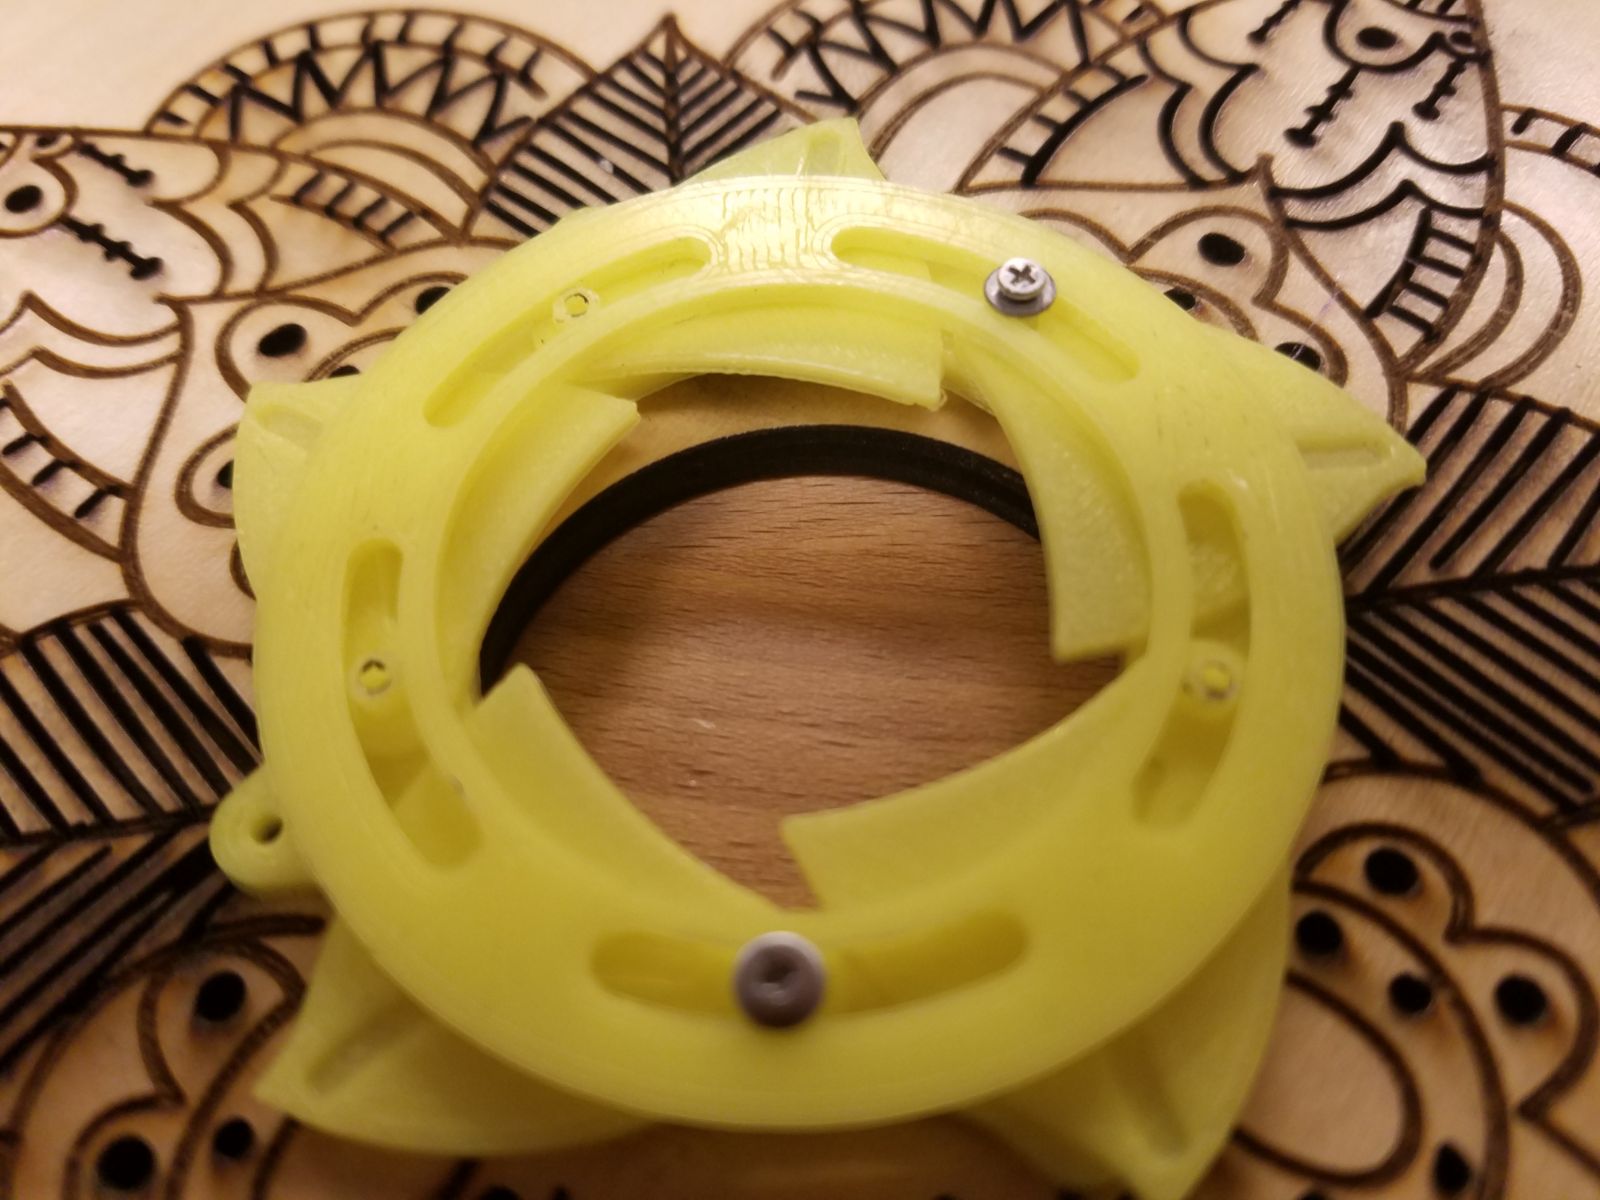
Prototype 1.0
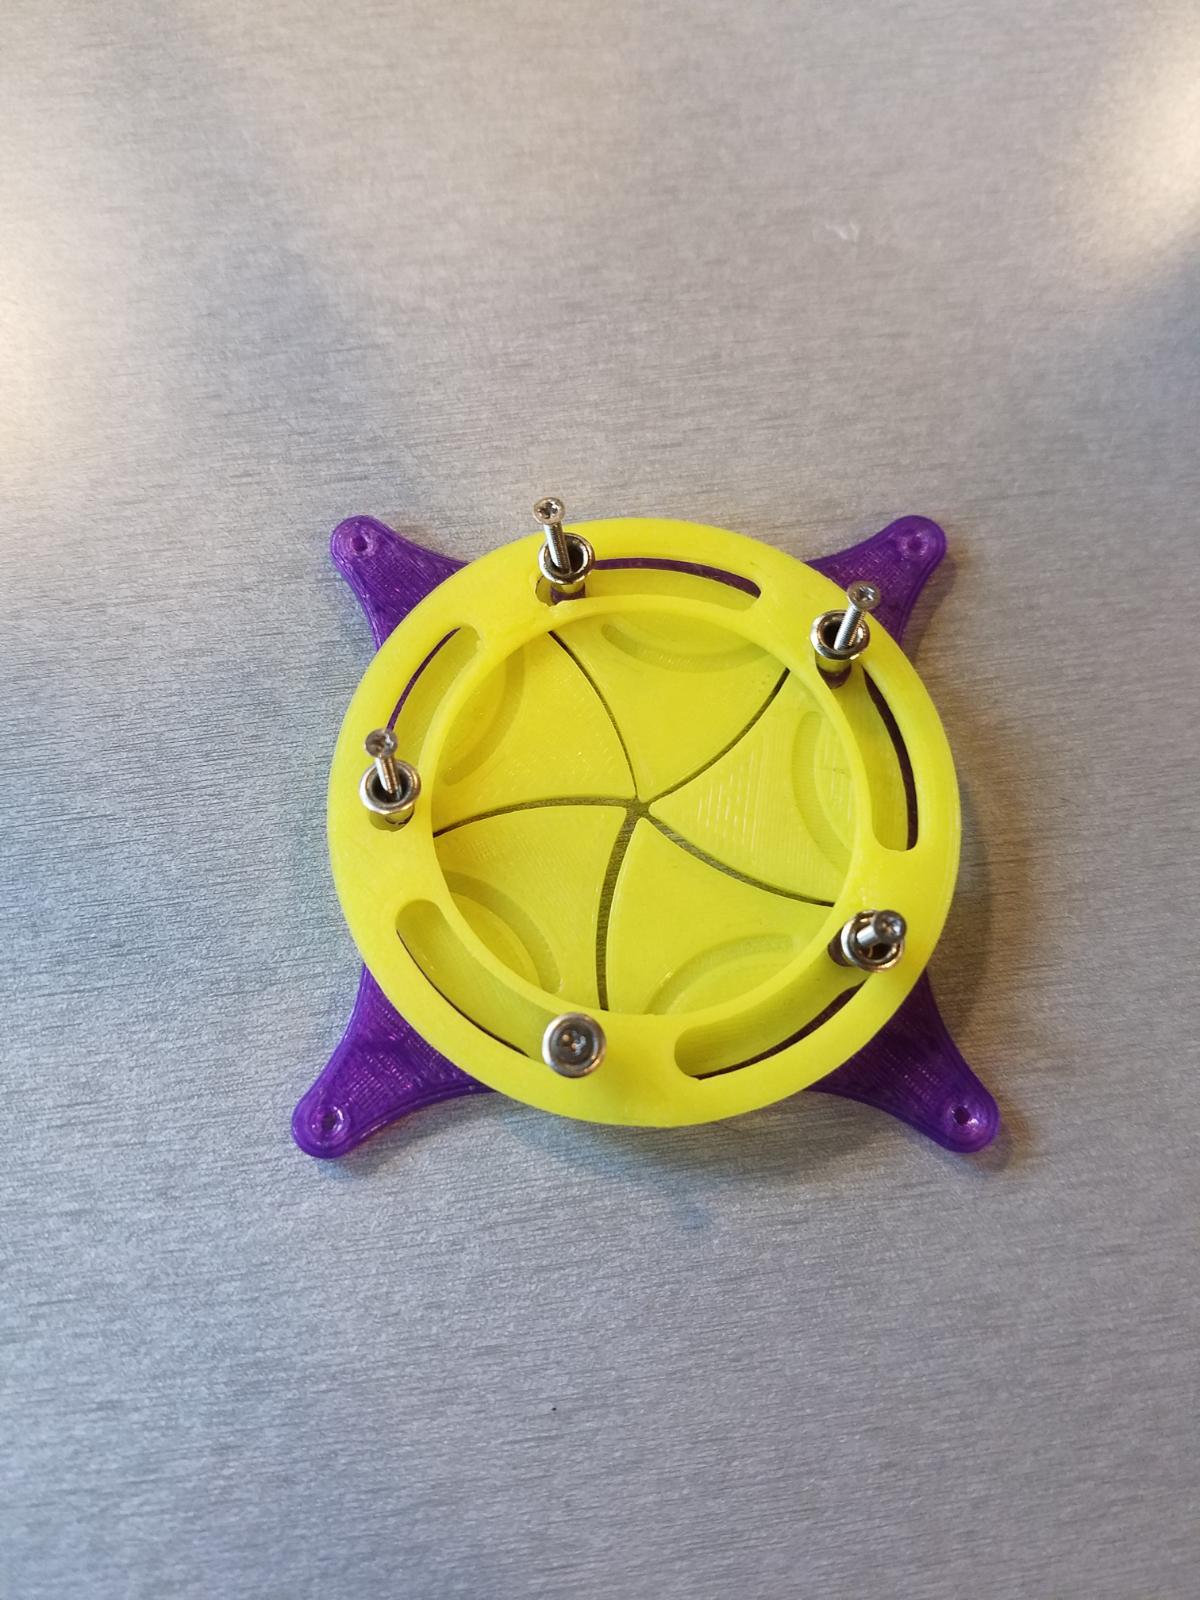
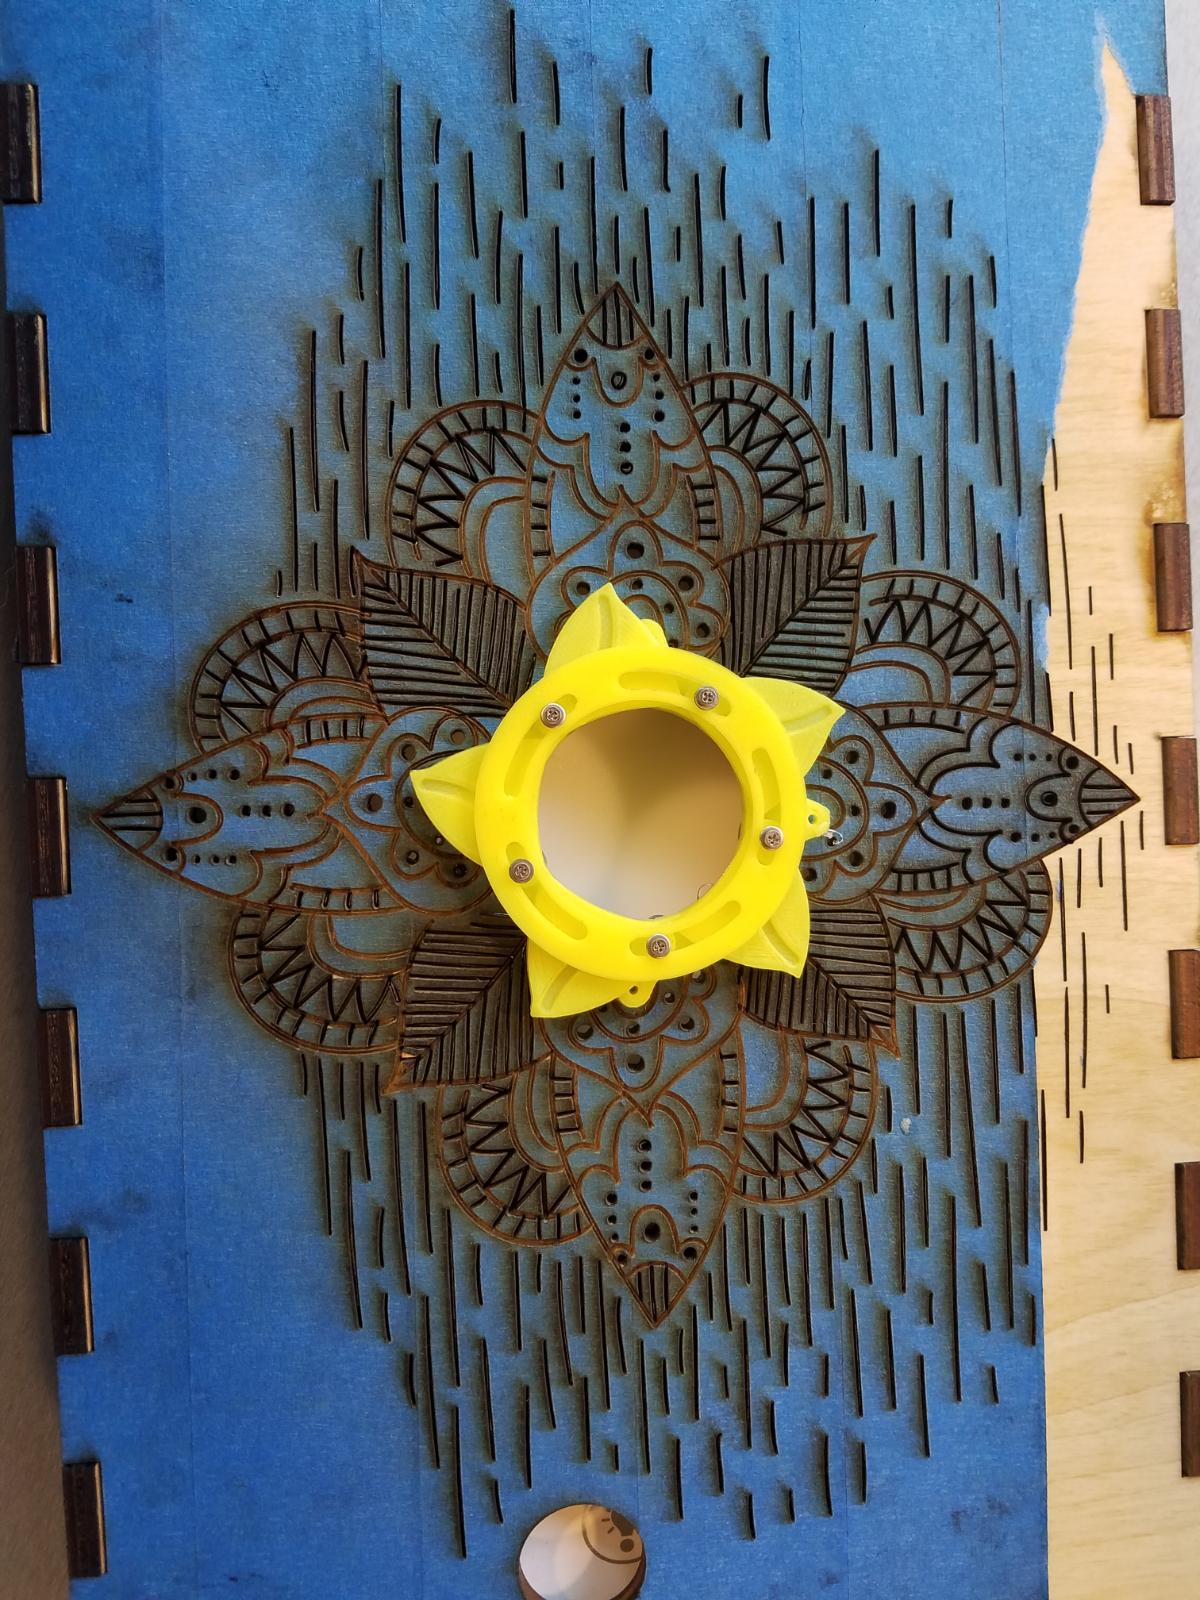
Prototype 2.0

The Instructions below describe how to convert a Thingiverse file into a useable model in Fusion 360.
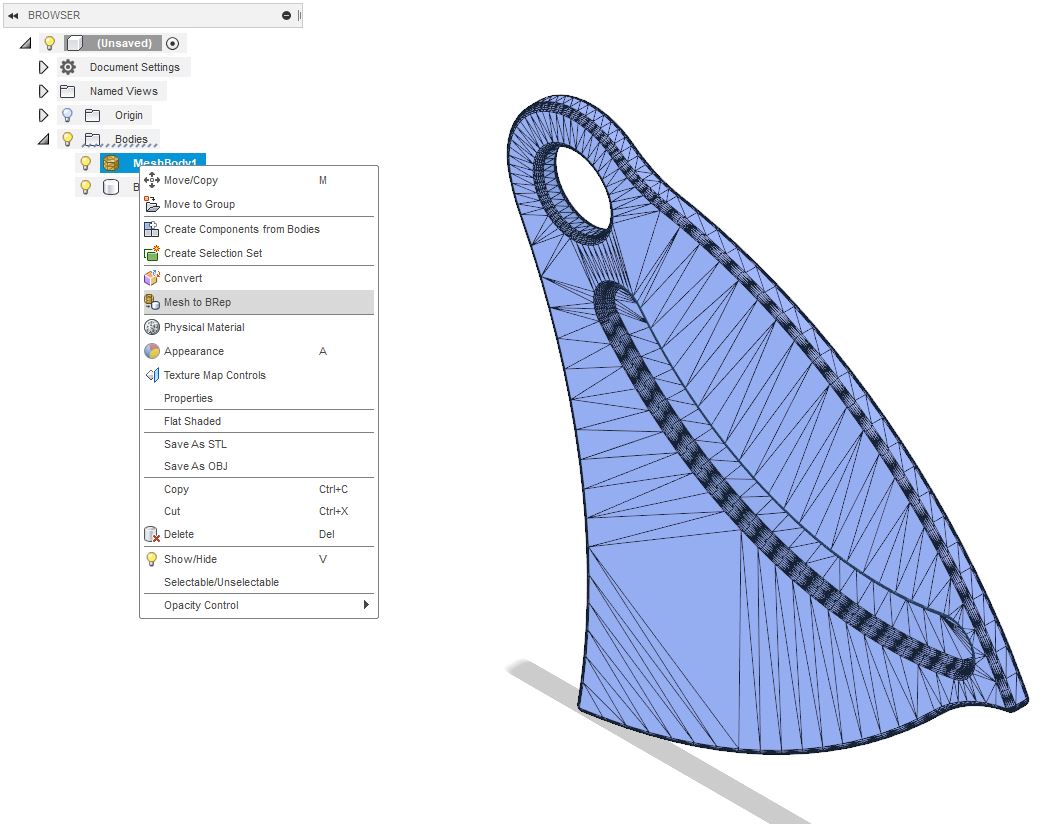
Process Step #1: After importing Thingiverse file into Fusion 360, use the "Mesh to BRep" tool convert the mesh file into a body.
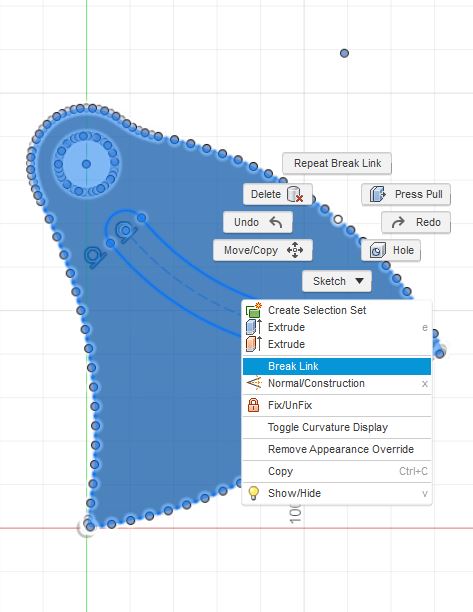
Process Step #2: Use either the "Project" or "Offset" tool to create an outline onto a new sketch.

Process Step #3: To create one cohesive form that can be extruded on the new sketch use "Control Point Spline" to connect each anchor point.
Considering how many things could have gone wrong, a lot was avoided.
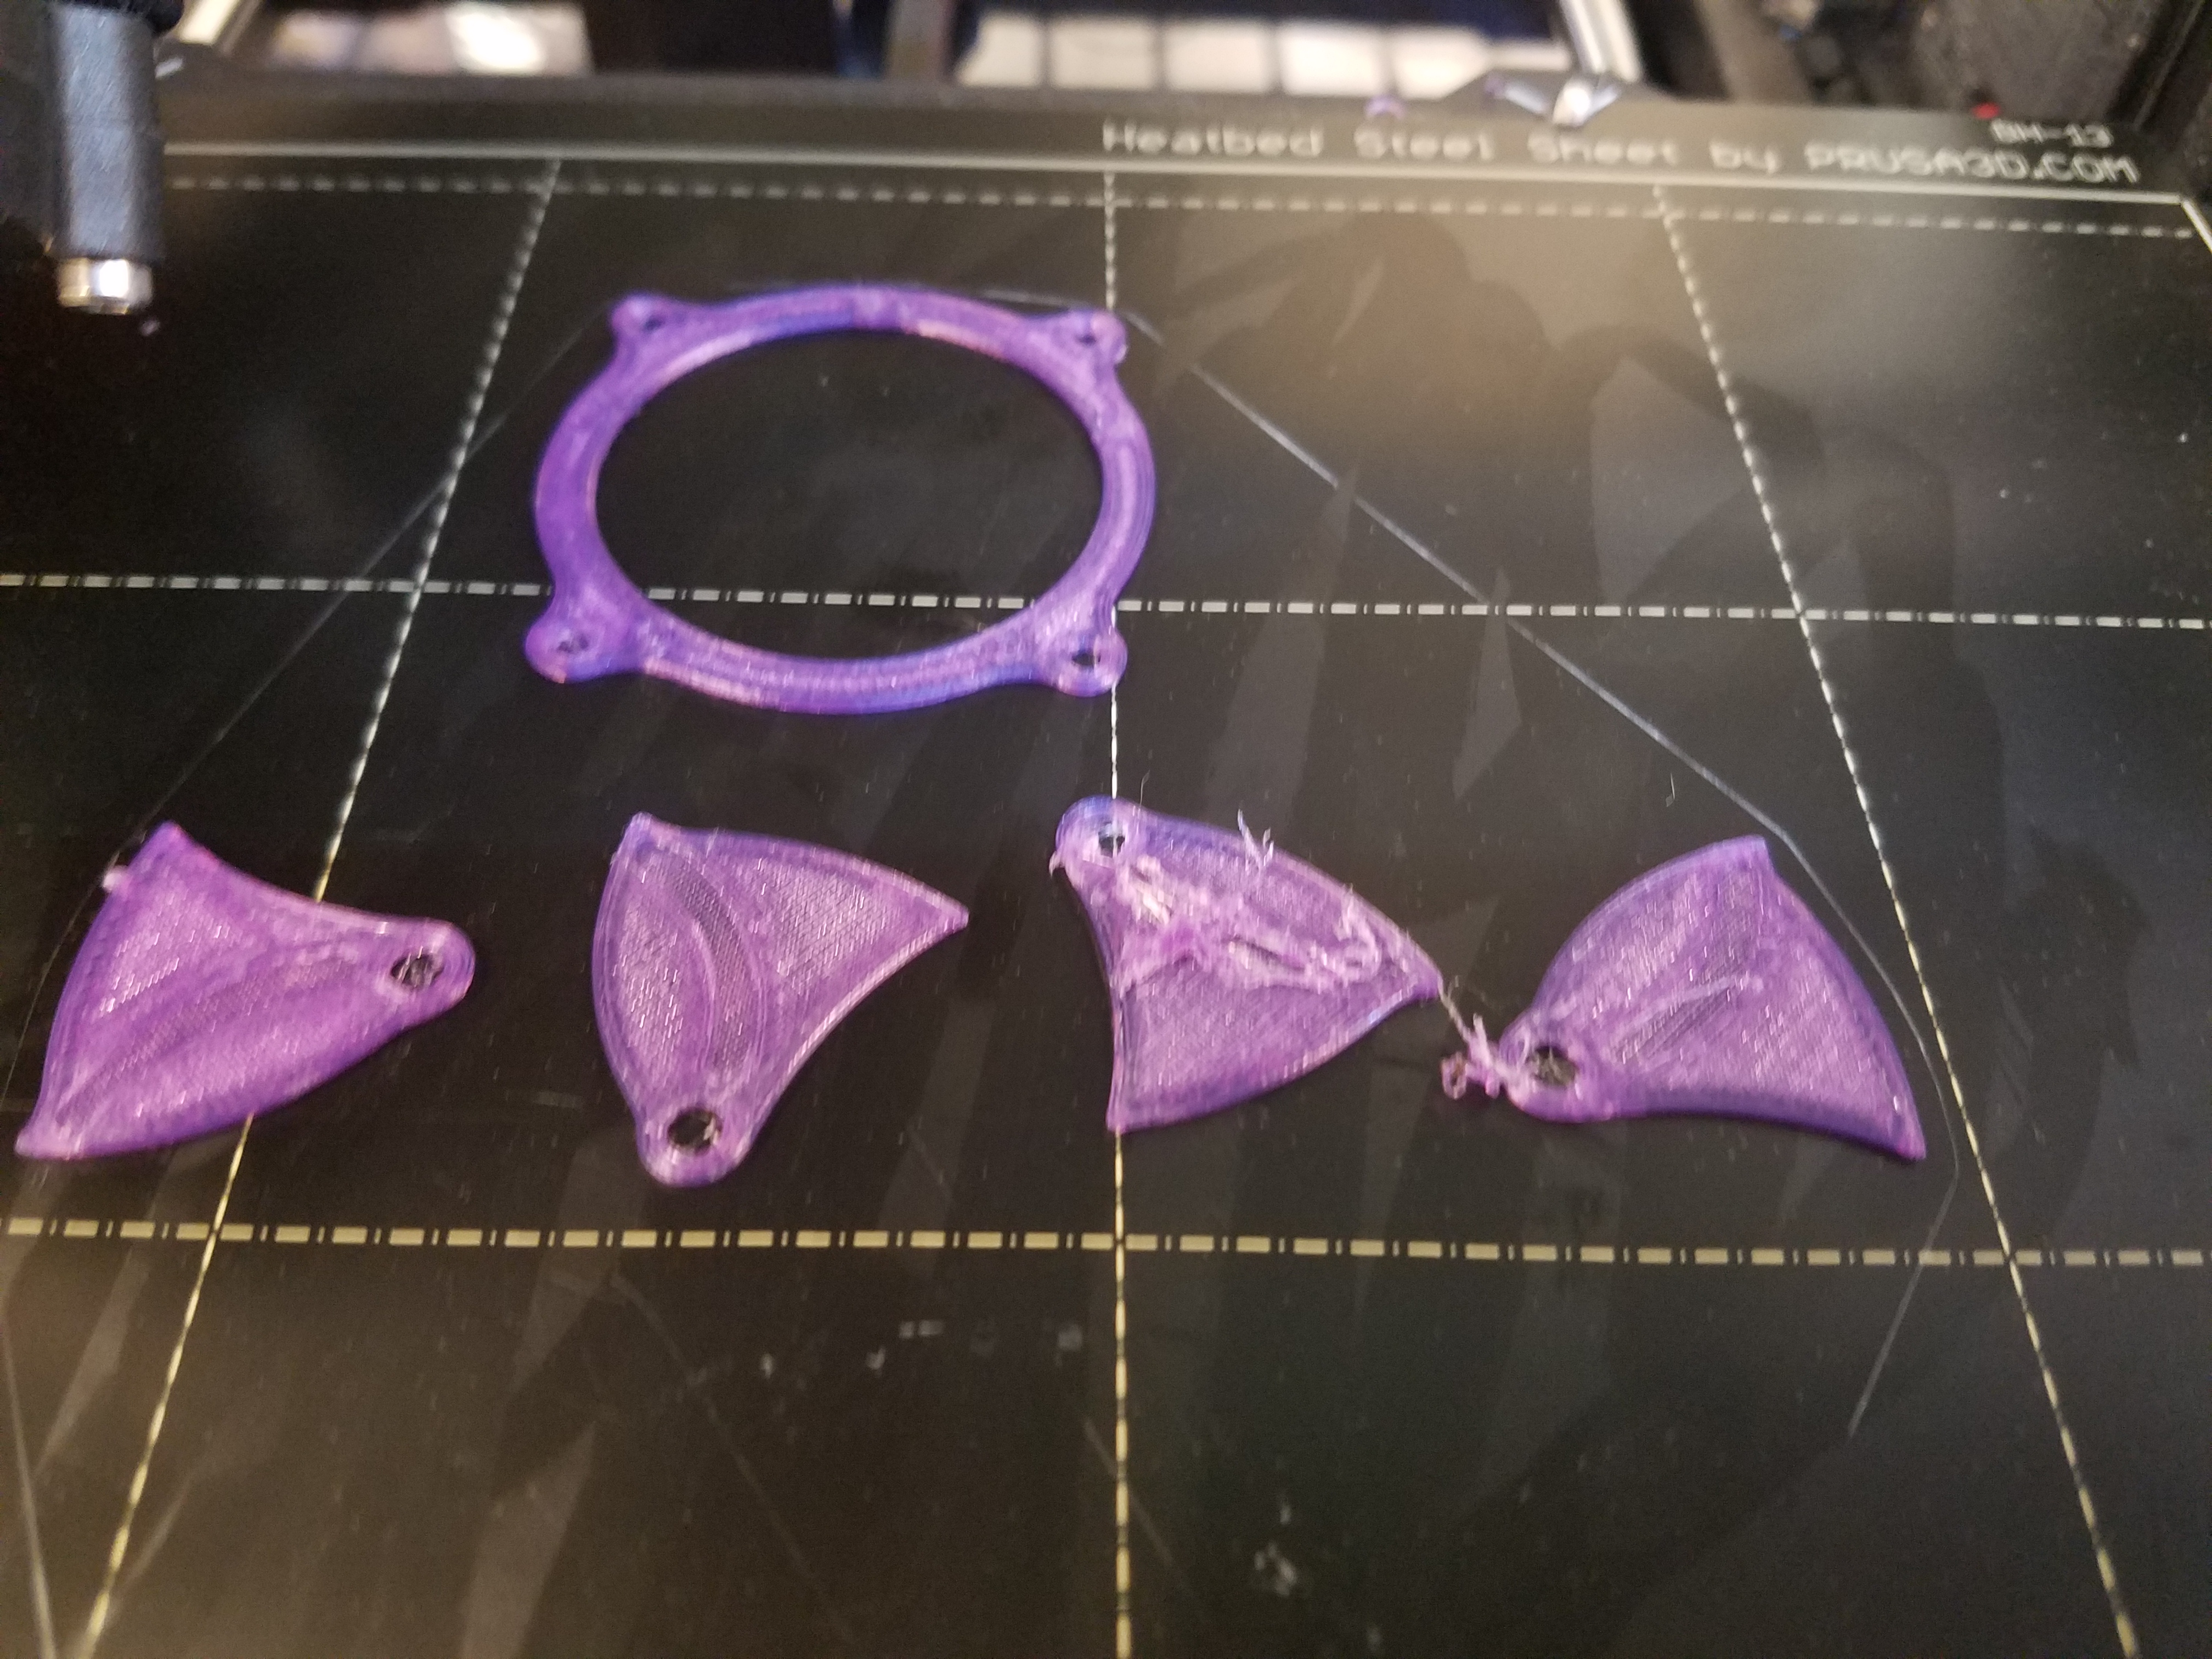
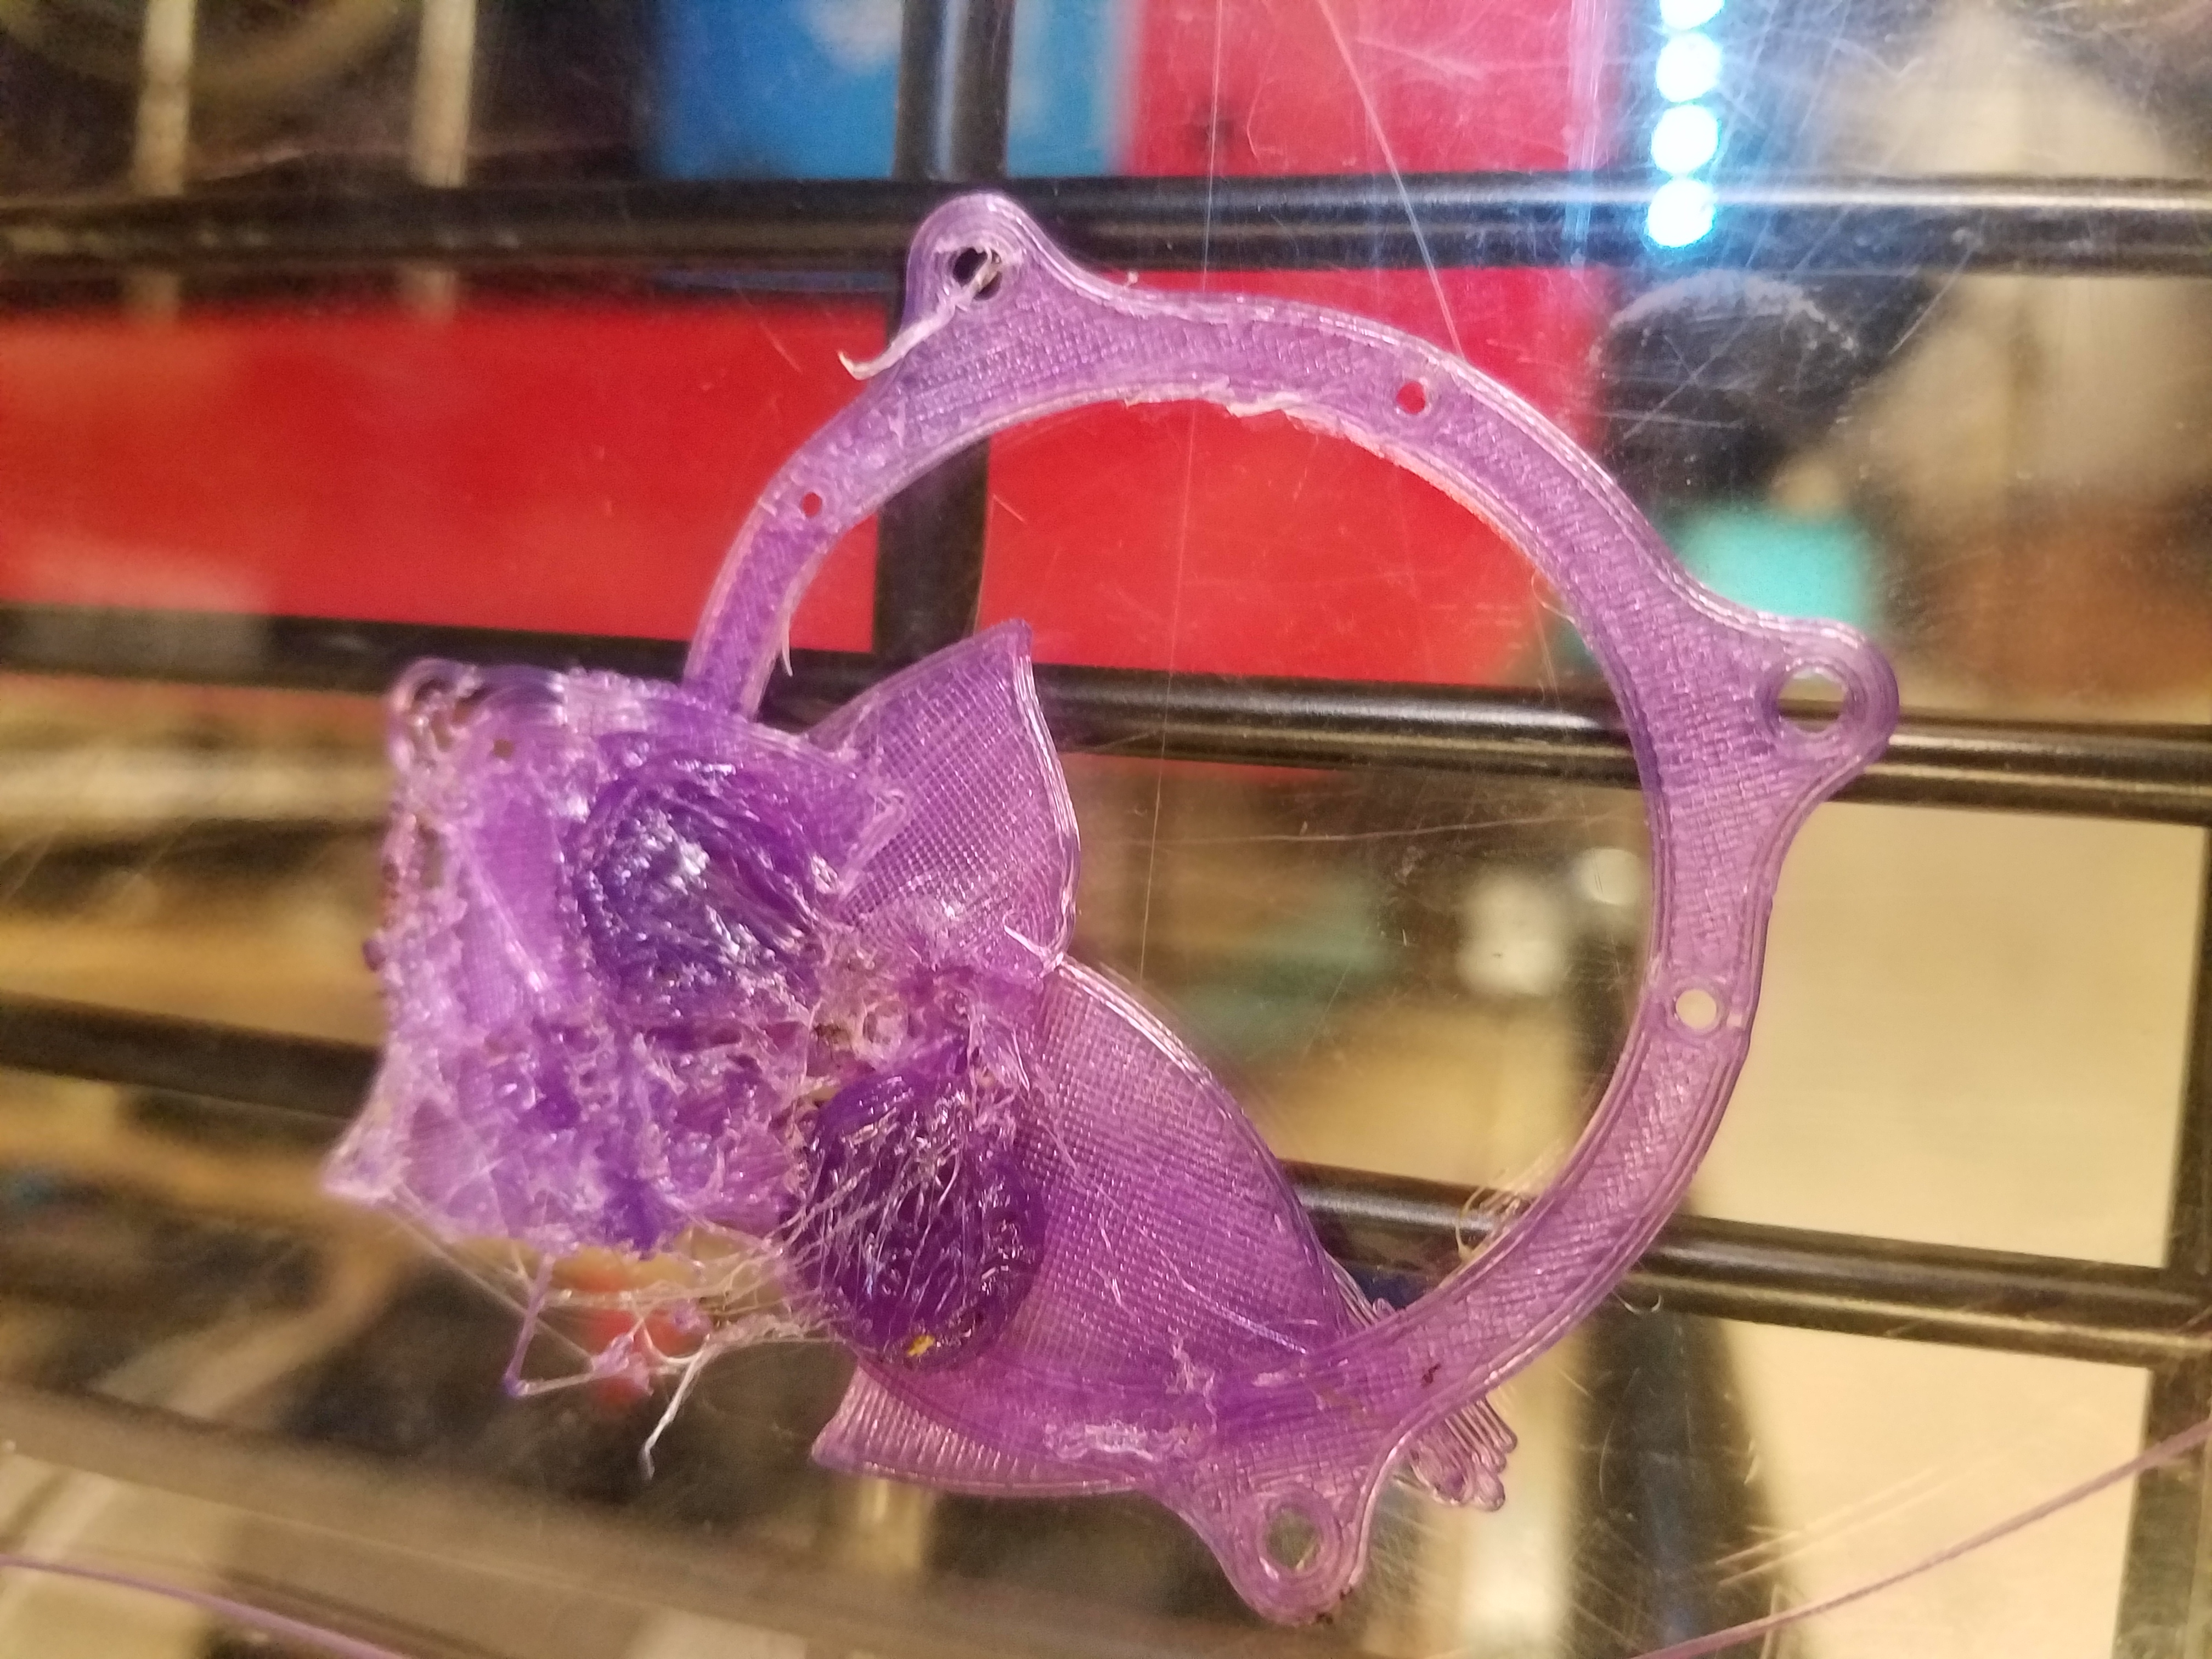
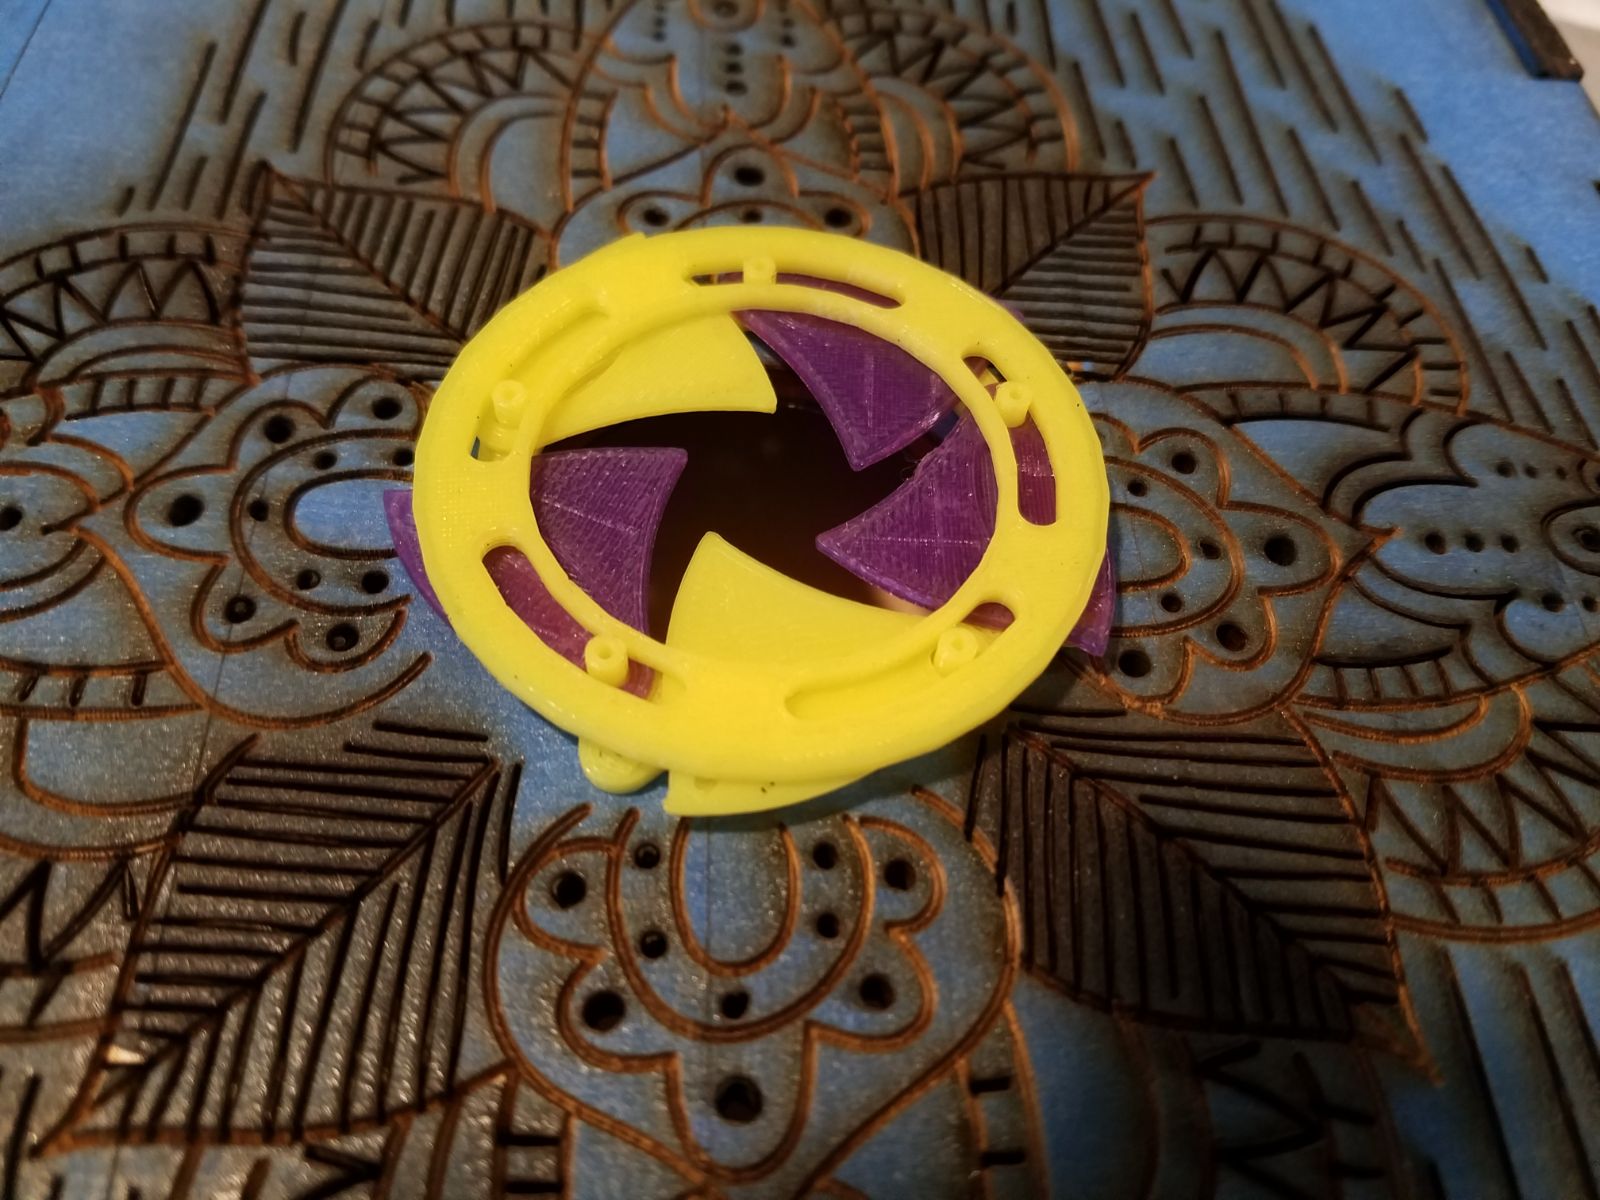
Many 3D Printing problems occured from misprinted pieces to thin pieces getting snapped off.
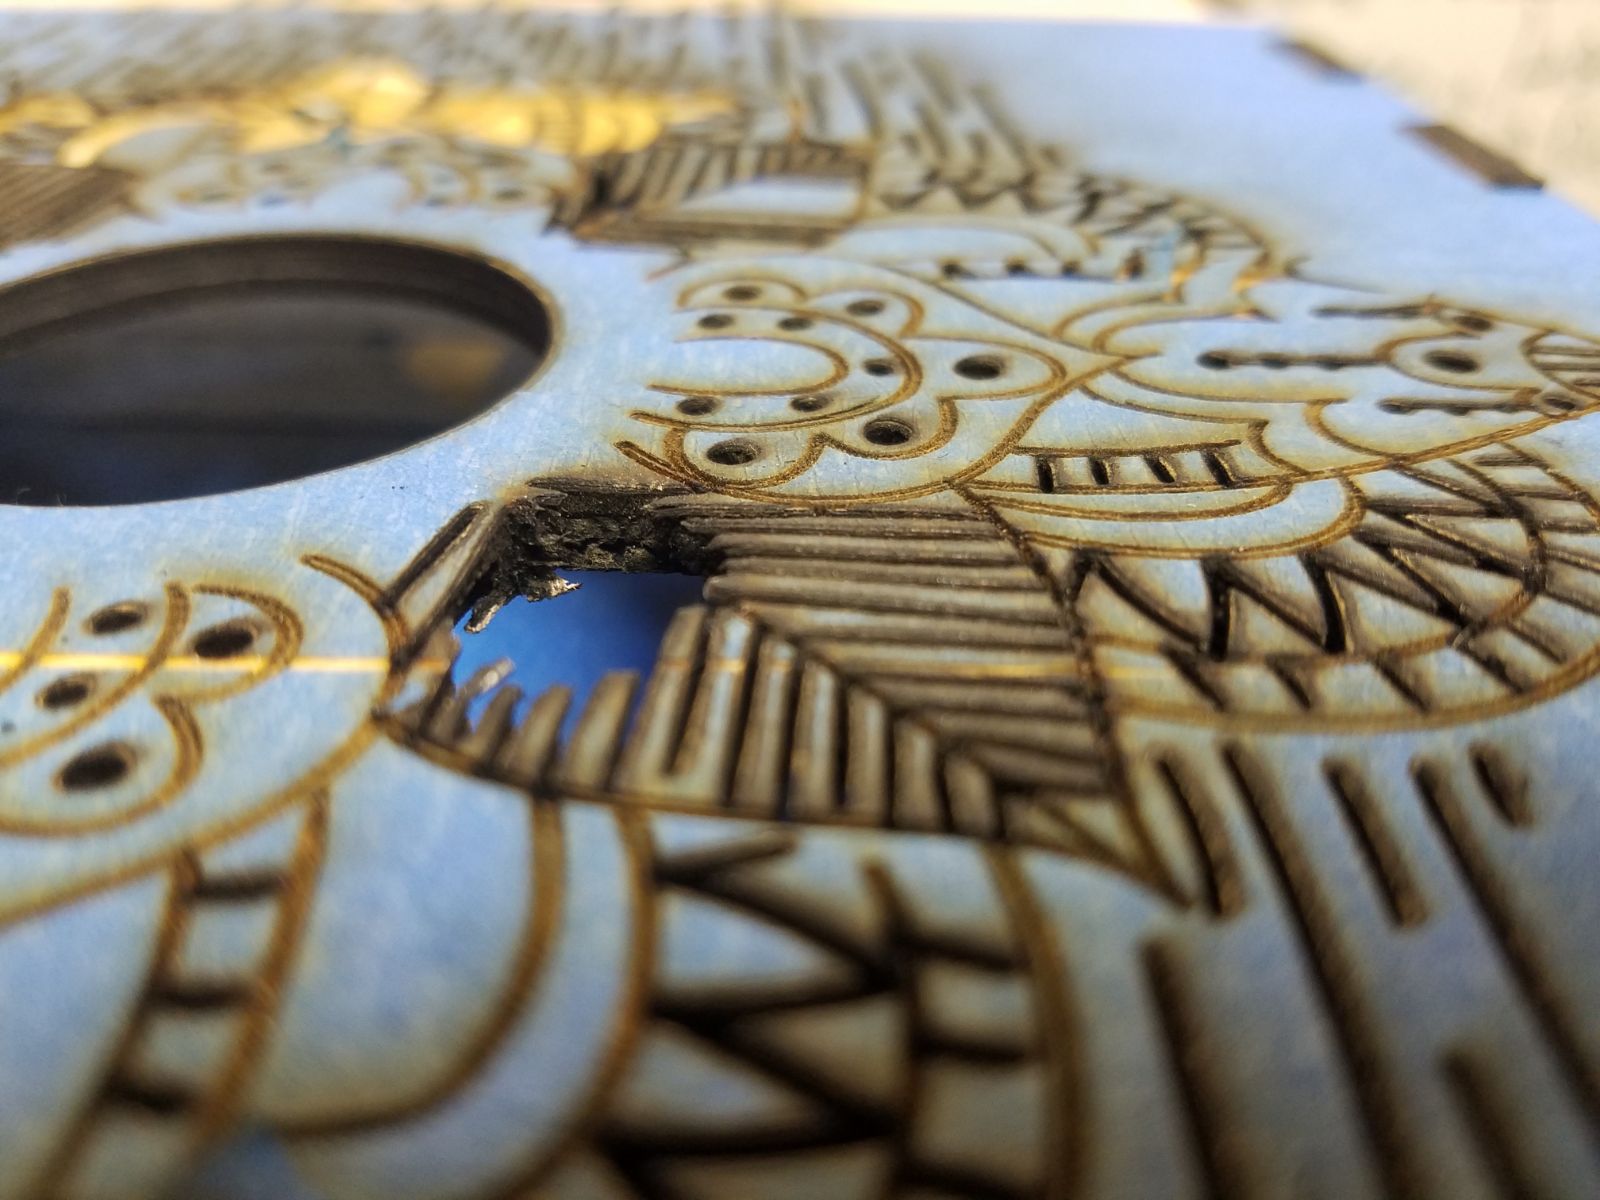
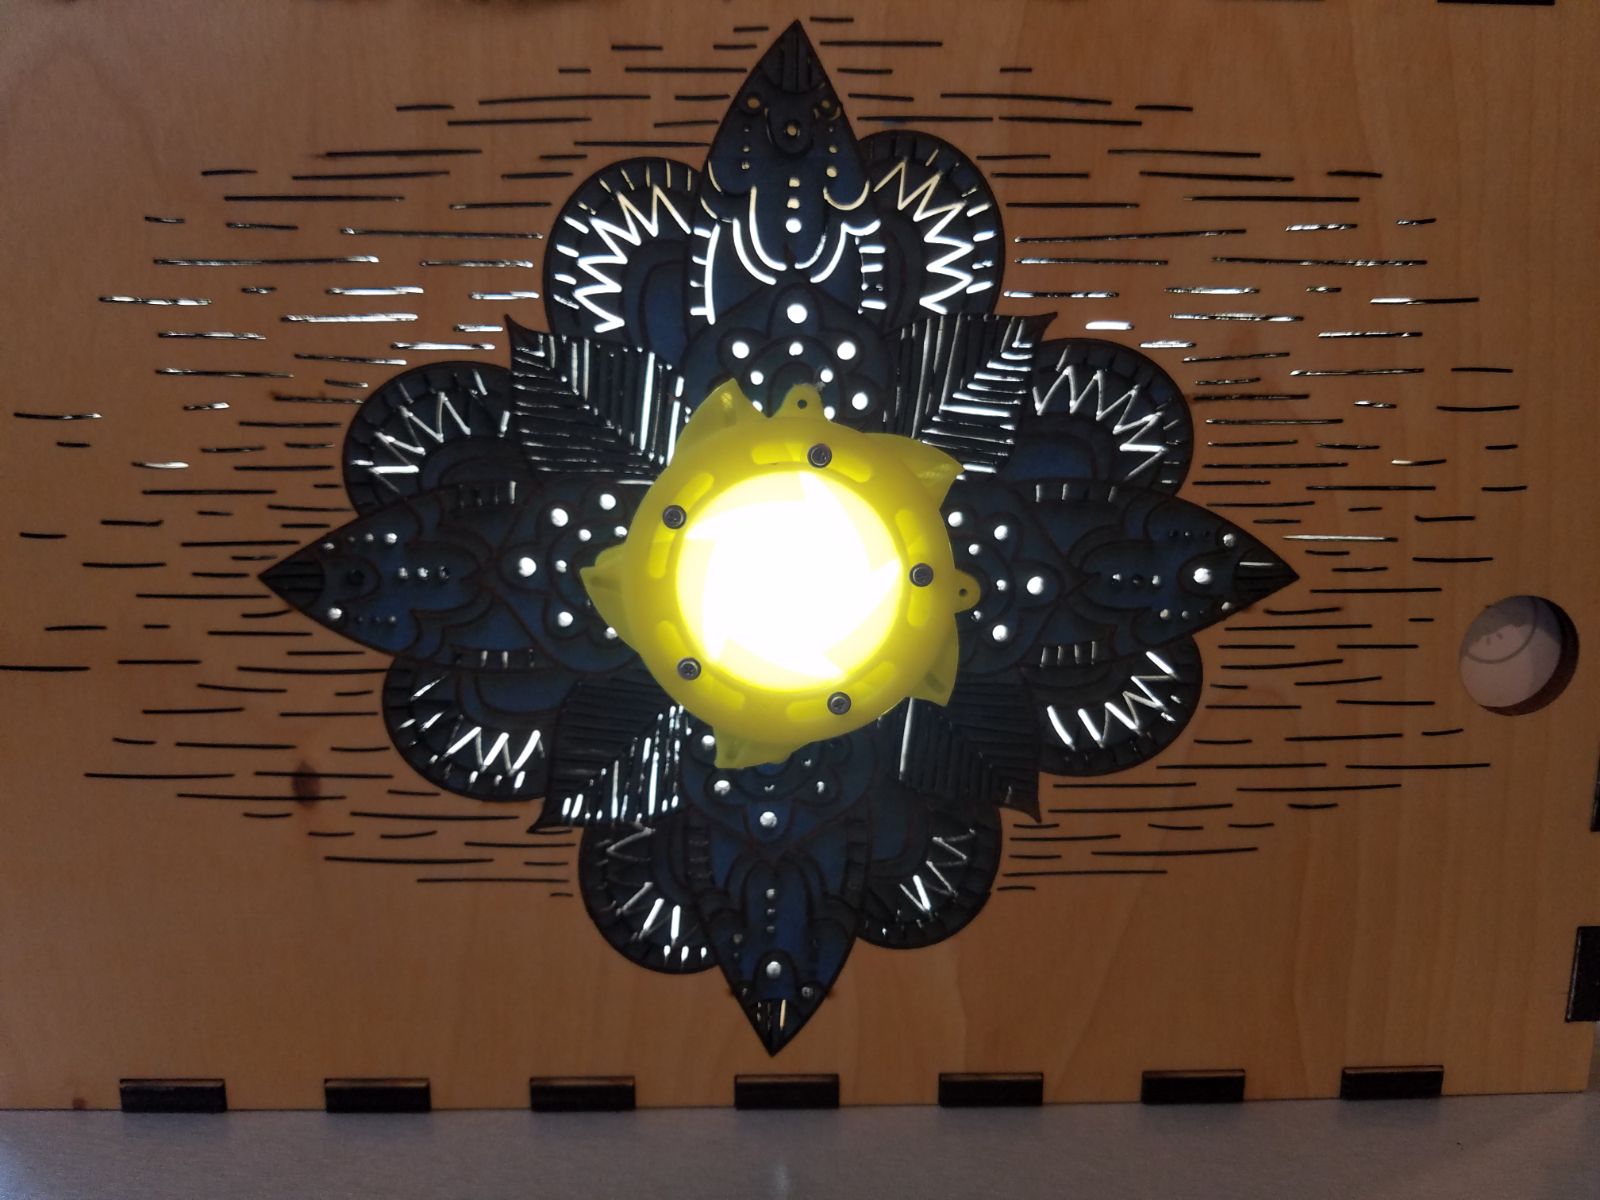
Initial testing with the Laser Cutter ran flawlessly so I was shocked to find the intricate parts of the leaves to burn up.

Laser Cutter would burn through some pieces of wood while burning through similar material pieces at the same rate. (3 Speed, 100 Power, 10 Frequency)
I learned how to create custom models in Fusion 360 then used the custom models for rapid prototyping testing the relationships using 3D printing.

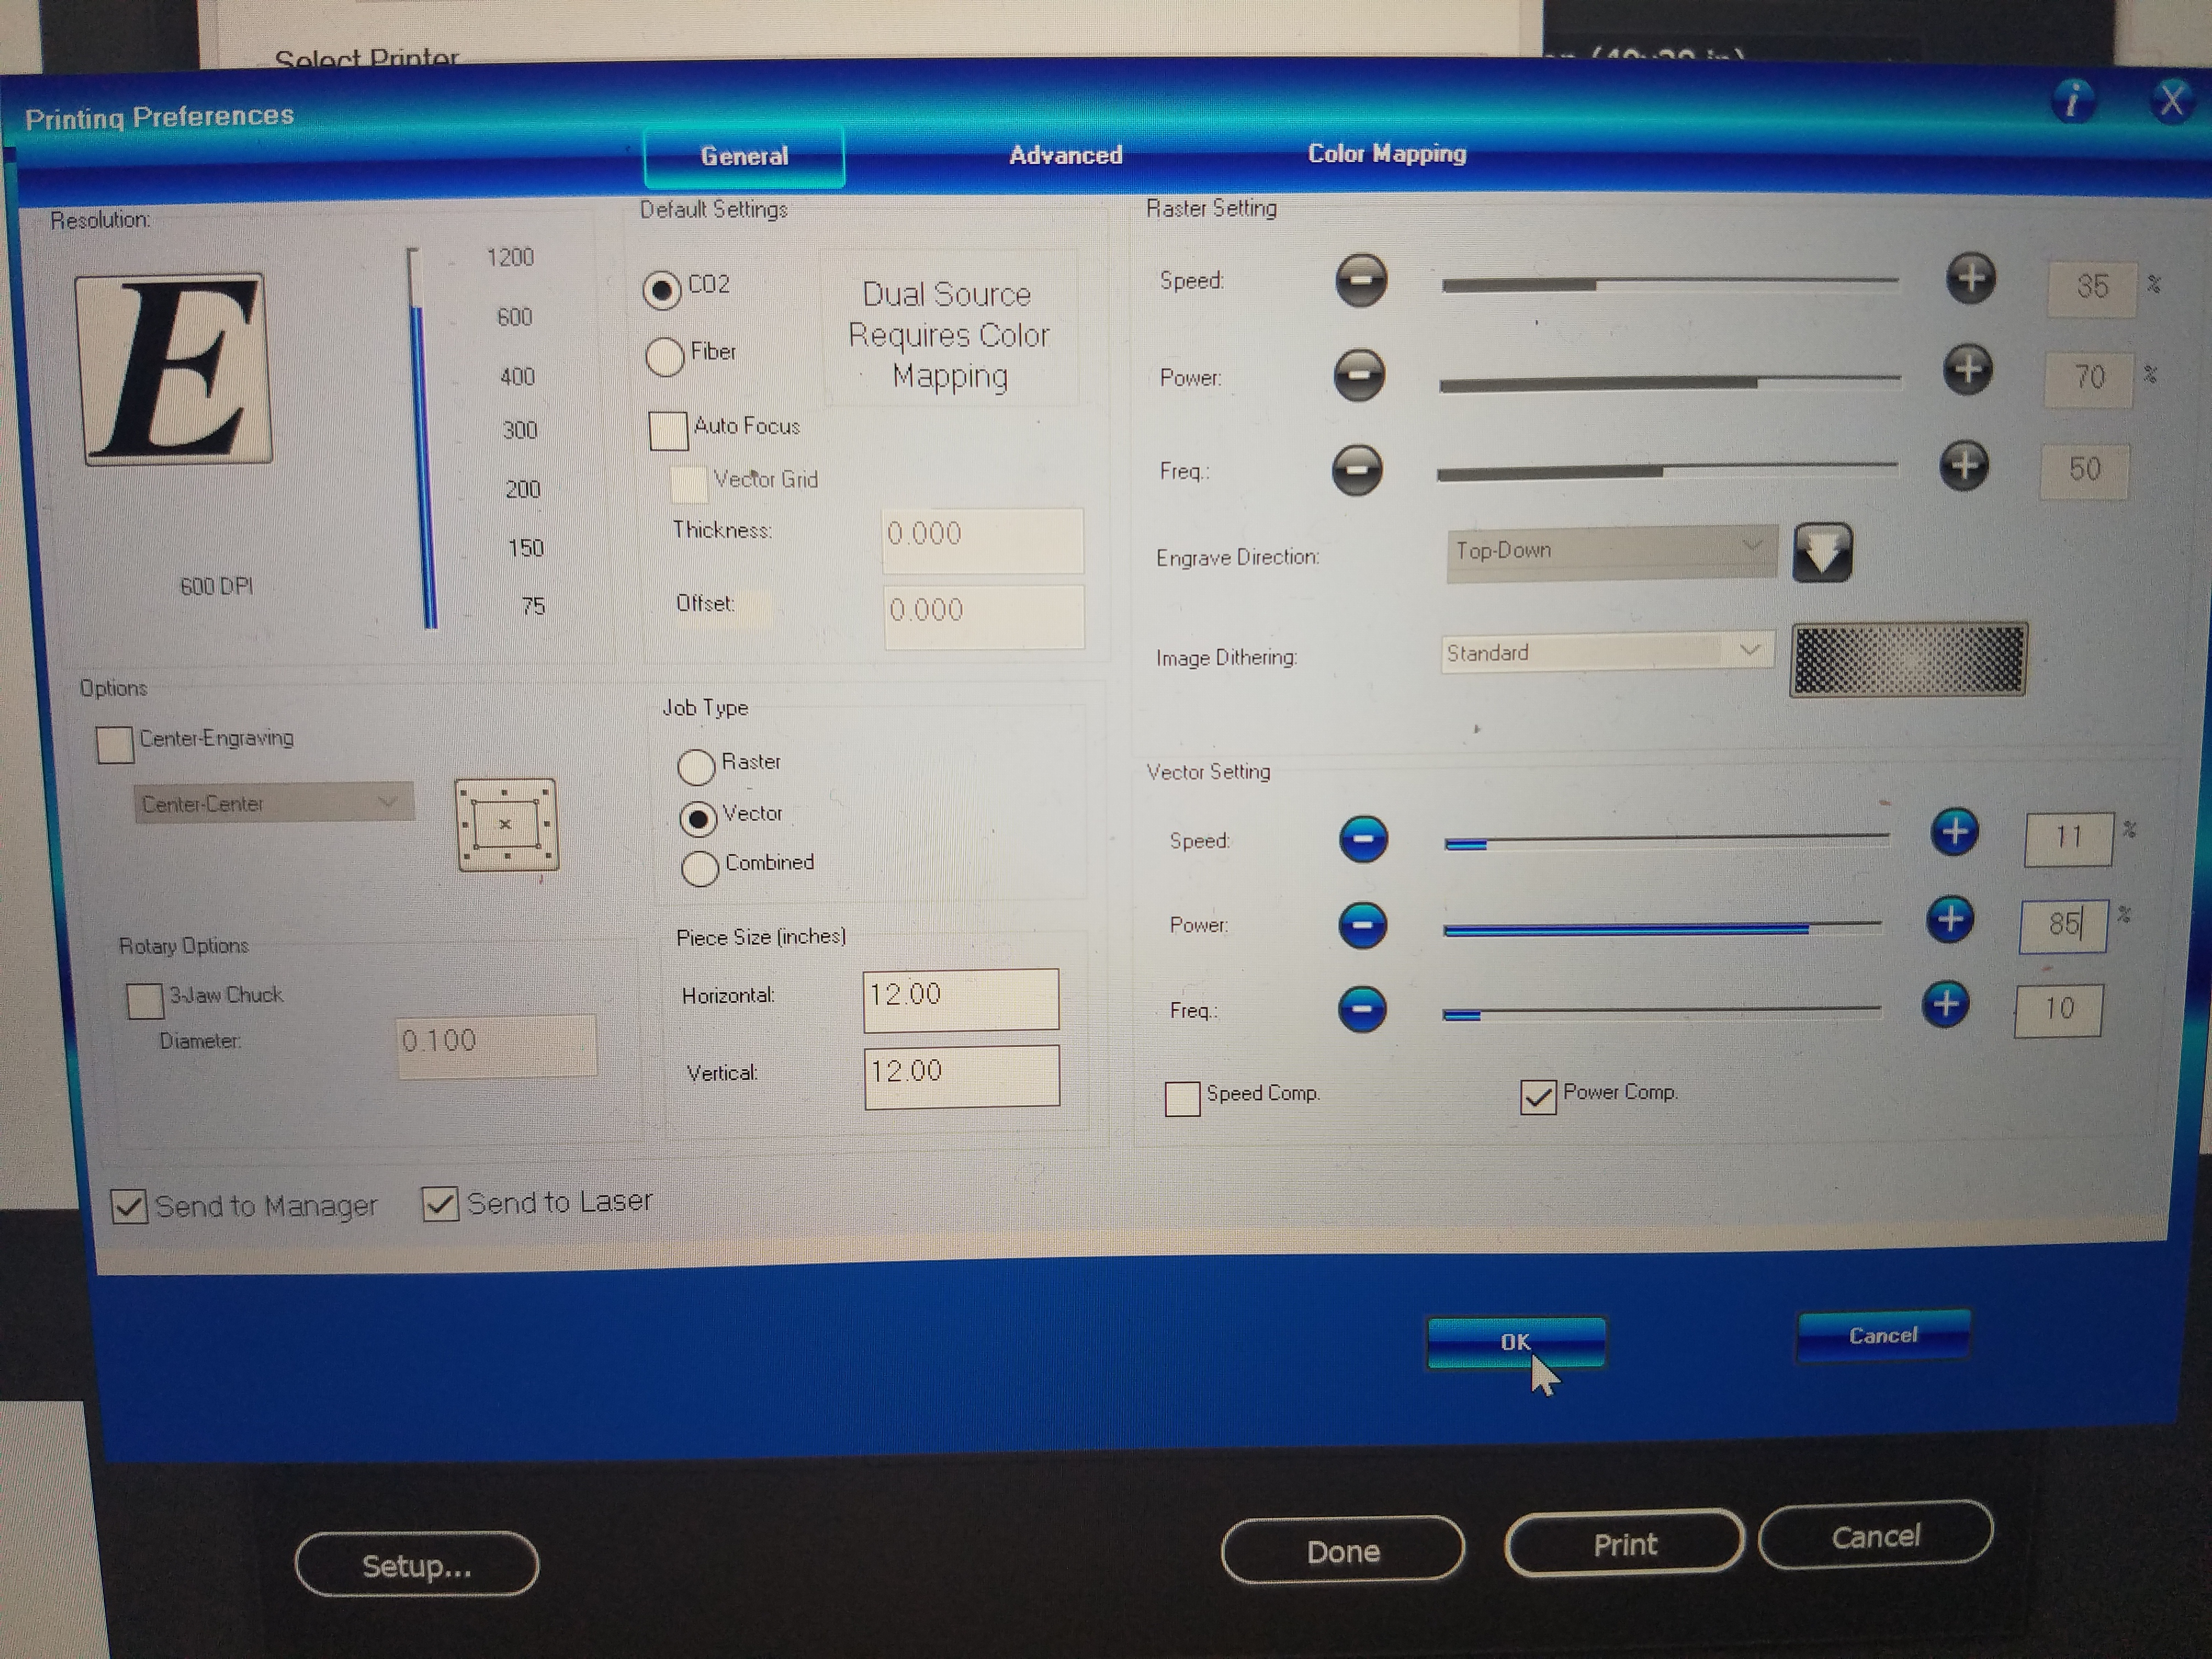
Tested variation of laser cutter setting to determine which one will cut smoothest.
(11 Speed, 85 Power, 10 Frequency)
Attempted to expand the model such that the holes align with the box and could be screwed together.
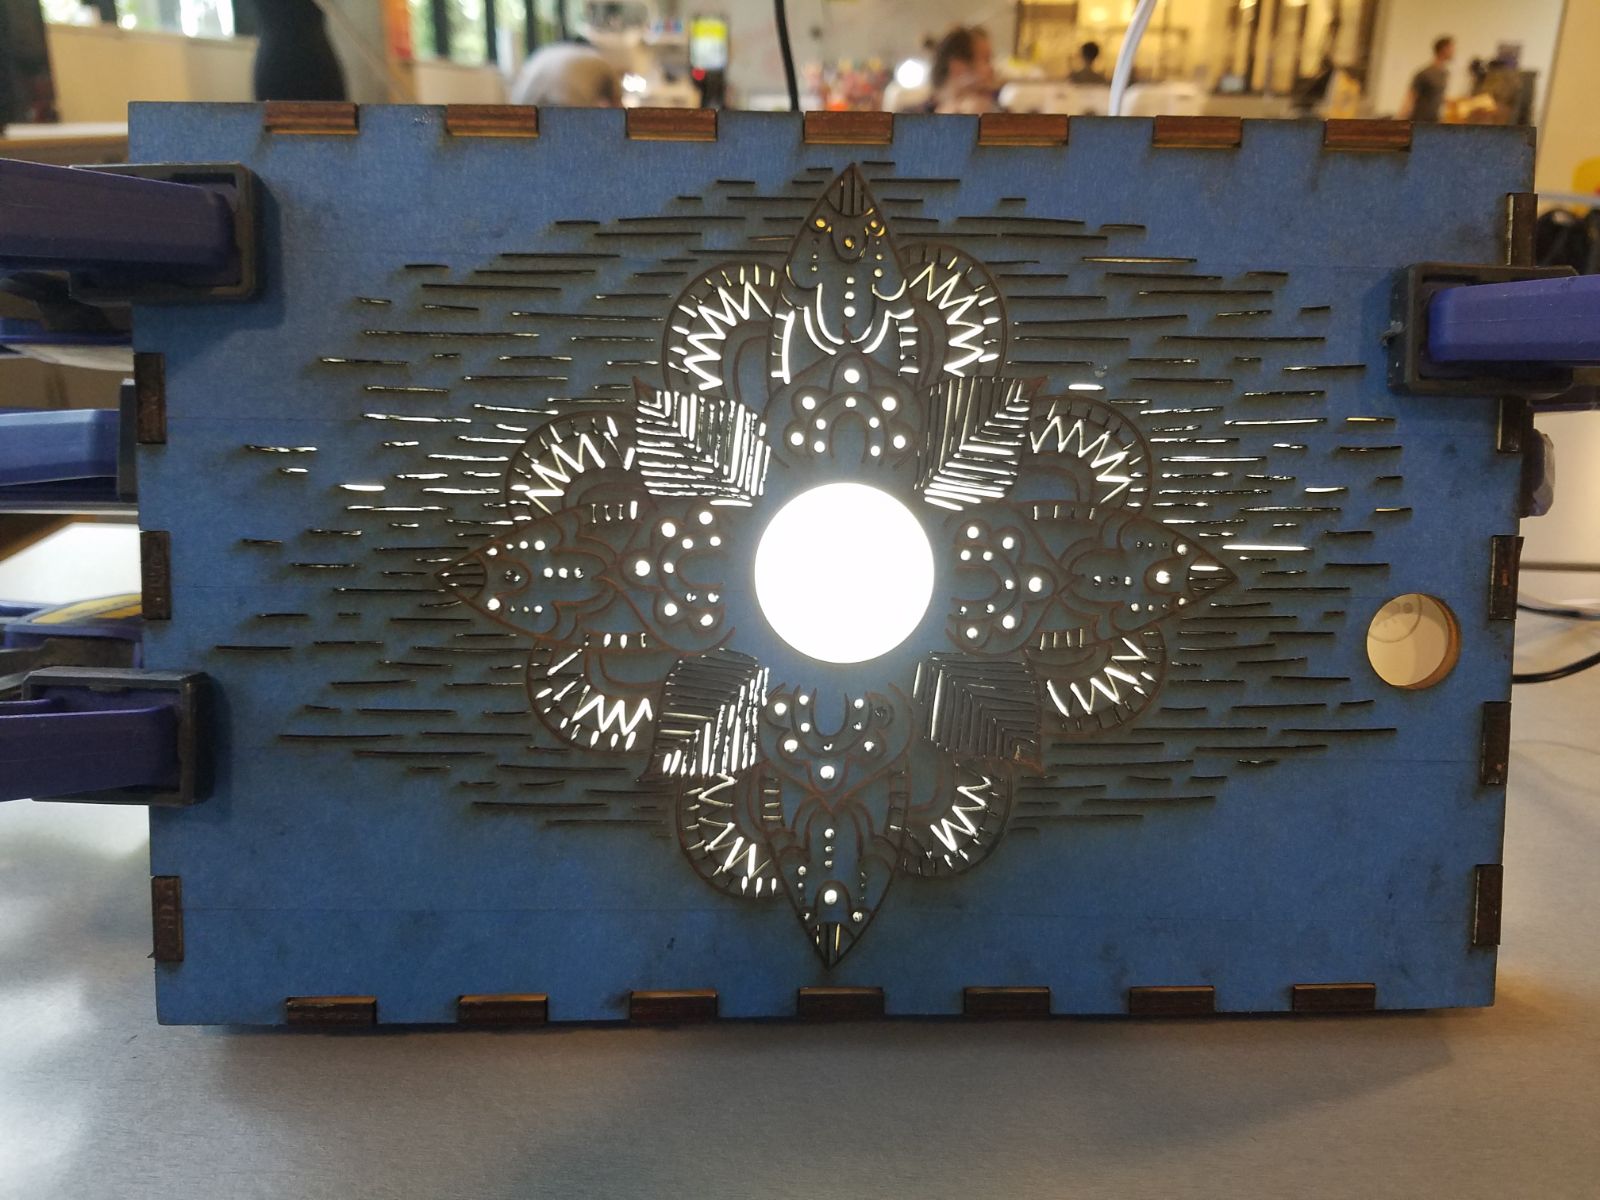
Used glue and clamps so that the box could maintain its form while holding the weight of the light. I believe in the next iteration, I could adjust the the kerf settings to .003 to minimize this issue.
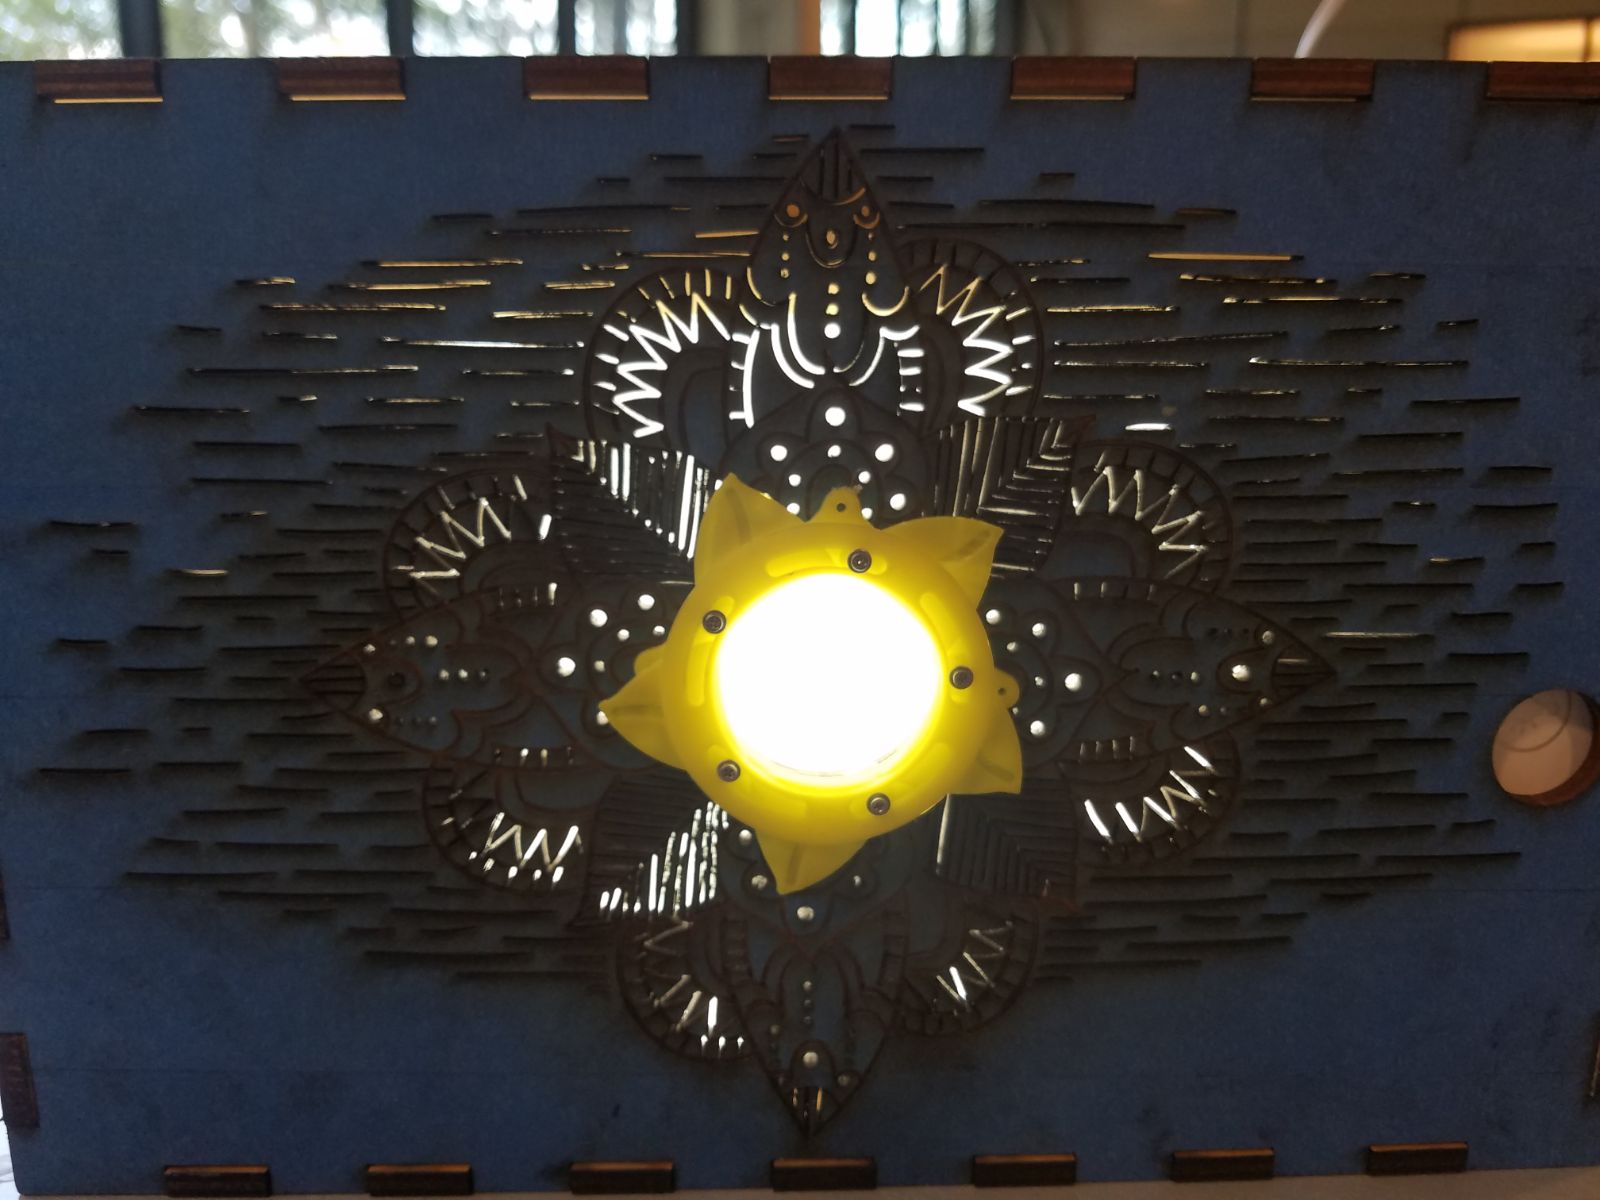
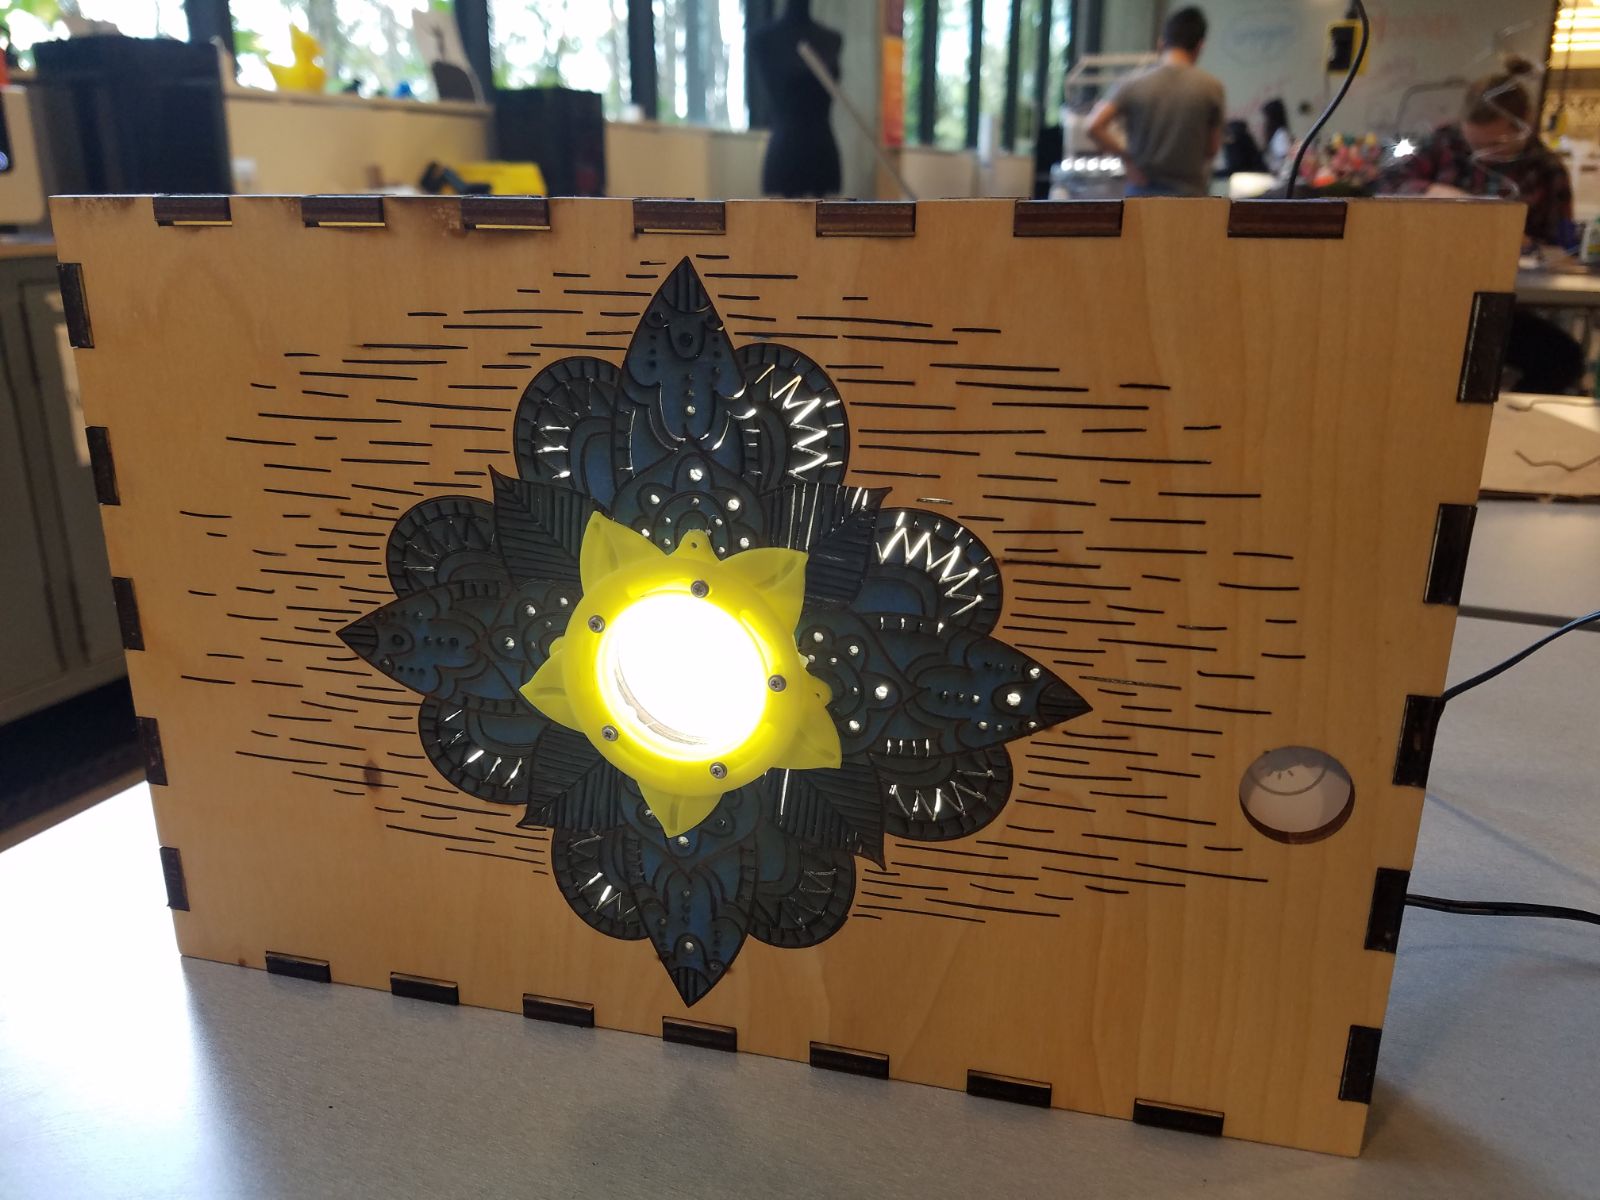
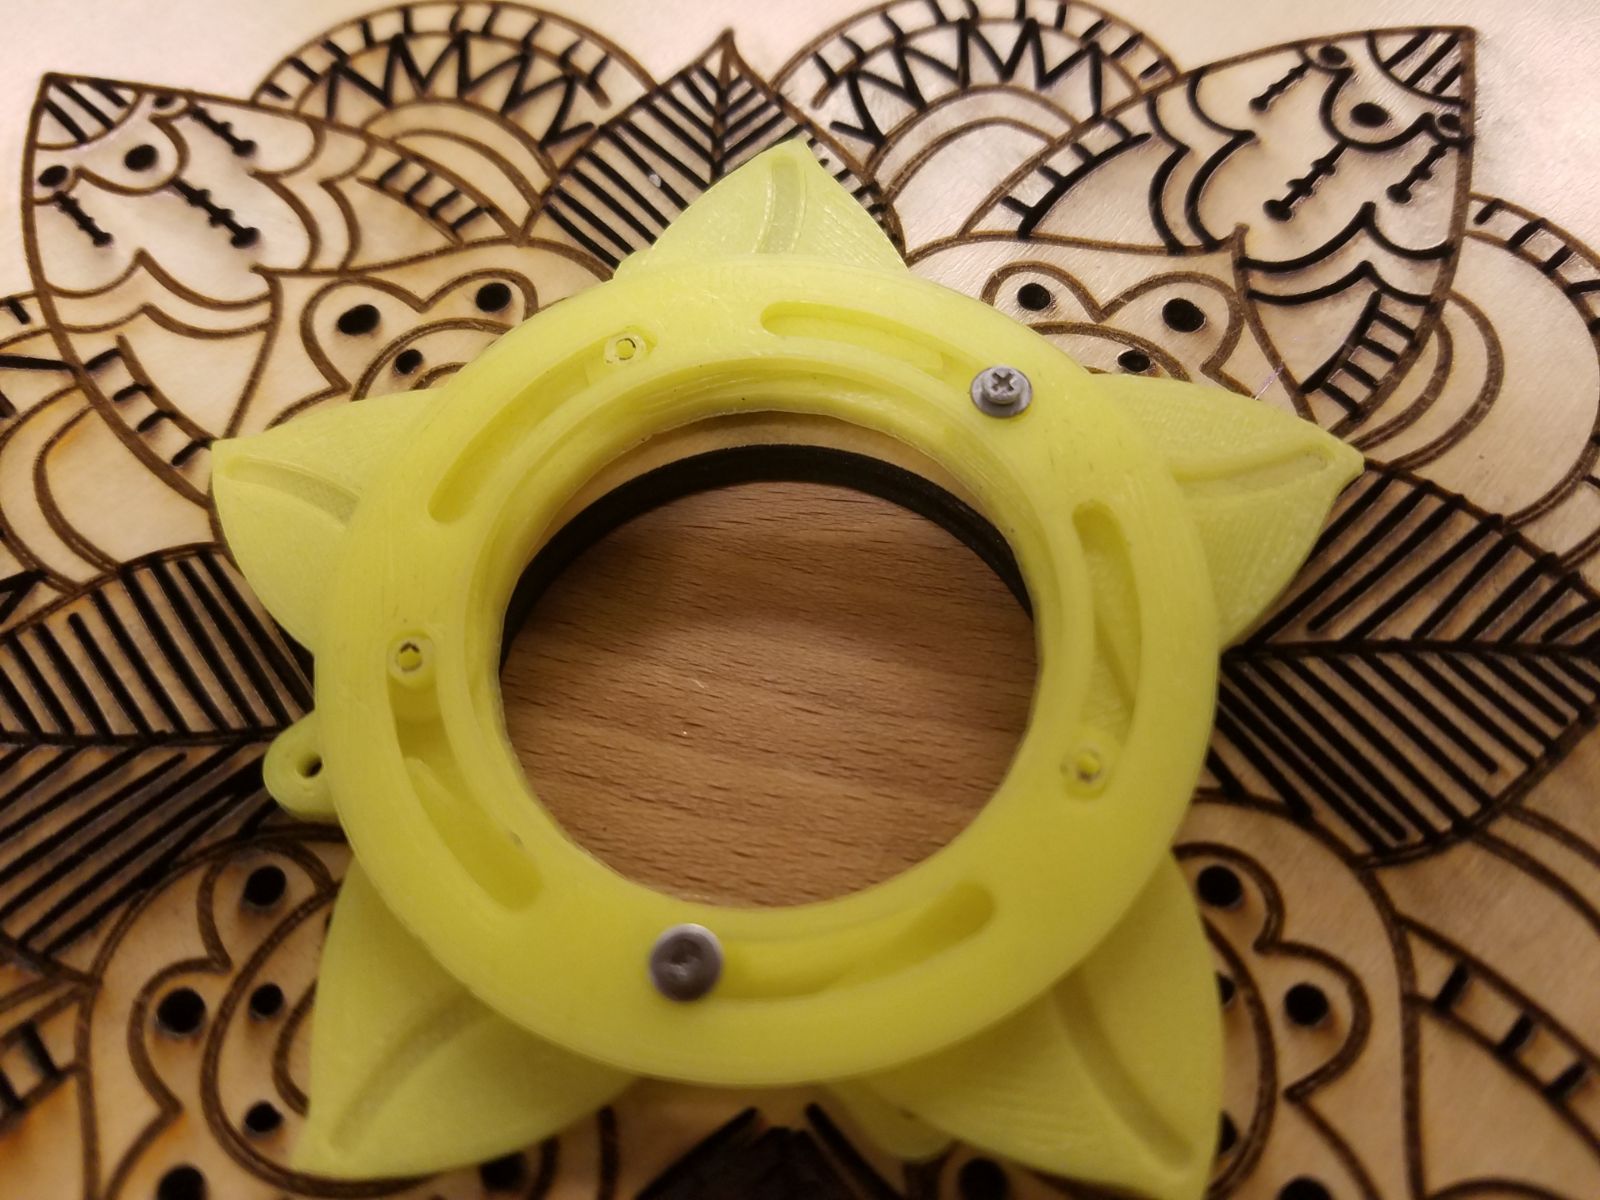
The Mechanical Iris opens and closes manually. The button on the right can be tapped to turn on the light.
I used tape to protect the exposed wood from burn marks and soot stains that occur during the laser cutting process

3D Printer Settings
Nozzle Temp: 235 Degrees
Platform Temp: 60 Degrees
Laser Cutter
Original Setting: