Process Overview:
Designing an Accessible Tube Squeezer


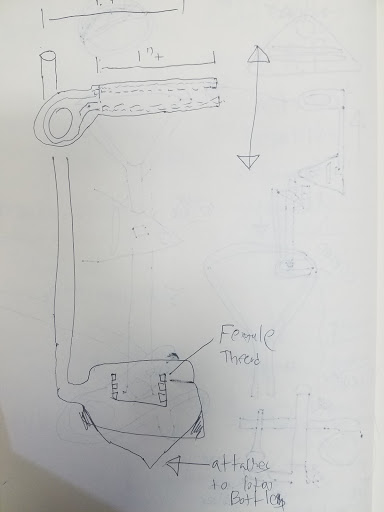
Inspired by the niche problem, the Stephen Giff lecture, and the Universal Design Principle Guidelines (UDP) I begin identifying the constraints and underlying issues.
From the context gleaned from my research, I identified that the prioritized function of this device should focus on UDP#6 “Low physical effort” such that a person could use this device one-handed with ease. The second important UDP priority was #2 “Flexibility in Use.”
Inspiration: The UX presenter Stephen Giff who talked about the Universal Design Principle guidelines, Inspired me to research, design, and prototype a Human Centered Tube Squeezer using digital fabrication methods.
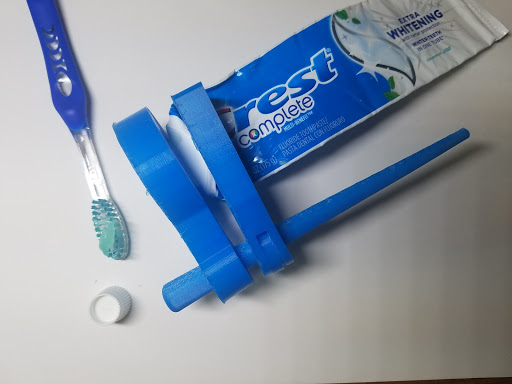
Prototype 1.0
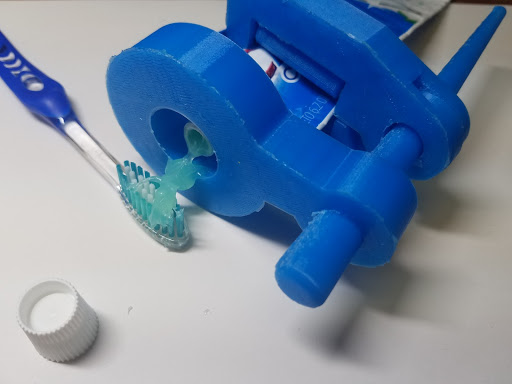
Prototype 2.0

The Instructions below describe how to convert a Thingiverse file into a useable model in Fusion 360.
Considering how many things could have gone wrong, a lot was avoided. Two attempts failed to print the support beams aka Bridges. To 3D print successfully, the print used bridges and a raft support structures.


3D Printer Settings
Nozzle Temp: 235 Degrees
Platform Temp: 60 Degrees